Pages

Showing posts with label adf taskflow. Show all posts

Friday, October 28, 2011

Playing with ADF Task Flows in OEPE 11.1.1.8


Oracle released the Oracle Enterprise Pack for Eclipse 11g R1 (11.1.1.8, New October 2011 ) which supports ADF Rich Faces with ADF Task Flow development. To see all the new features you can go this page for all the ADF or Oracle Cloud feature list.

In this blogpost I will show you some steps how to make your own ADF Web application in OEPE.

Before you can start you should know that the ADF application in OEPE uses JPA as model ( eclipselink), ADF BC can be used but only on runtime and you should already have WebLogic PS3 or higher installed ( together the ADF runtime option).

This OEPE release does not have ADF wizard for ADF BC or for ADF Datacontrols but the support for ADF Task Flows is a big step forward.

Let's start.
Start with a new Oracle ADF Application

Add a new WebLogic runtime, define your WebLogic home and run the domain wizard to create a new ADF enabled domain. Make sure you add the JRF option to the domain.


You should use JPA as a model project with Oracle ADF 11g JPA Project as the configuration.


This will create 2 projects, Model and AdfGuiWeb and 1 ear deployment called AdfGui.


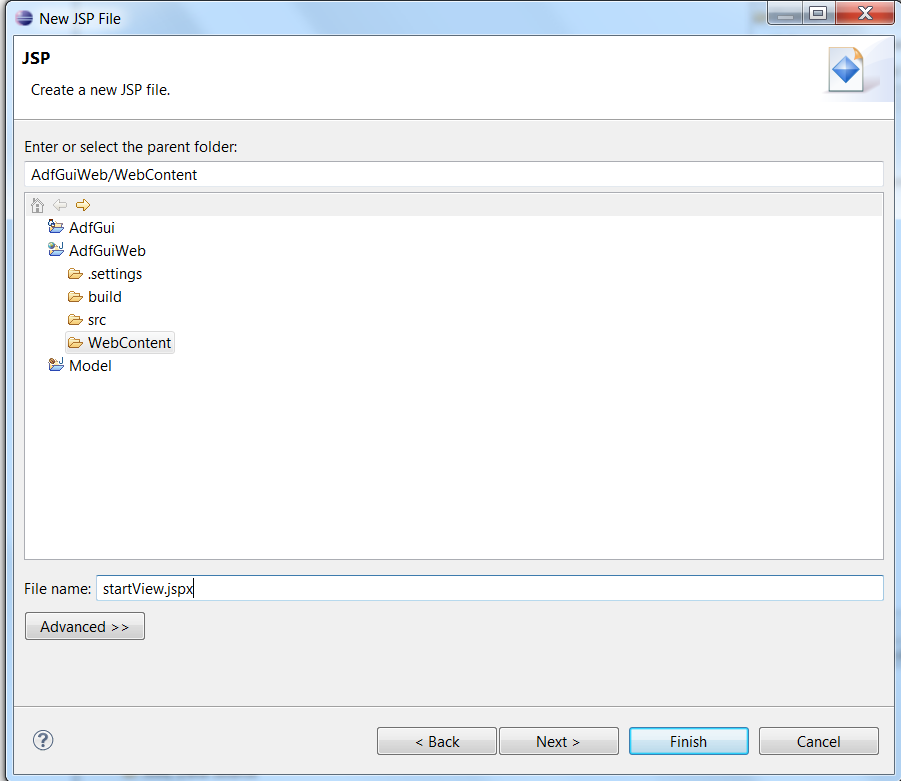
Create a JSP File which will be our start page.


Select the location for the JSPX page

Choose for ADF Rich Faces Page , Basic xhtml

Open the adfc-config.xml and drag the jspx page to the diagram, this will create a new view.


Create a new ADF Fragment Task Flow which will hold the department fragments


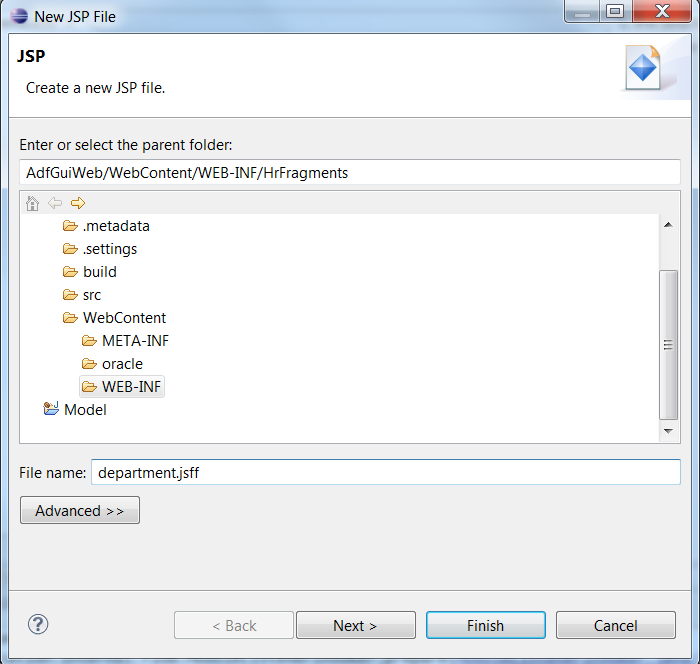
Select the location.

The fragment option should be enabled.


Create a new JSP page which will be our fragment page, called department.jsff


Now choose ADF Rich Faces Page Fragment

Open the departments TF and drag this fragment to this Bounded Task Flow.


Now we can go the model project and delete the model project. OEPE does not support ADF Datacontrol generation, so we will skip this for the demo.

Now you are able to run the JSPX page. Select the startView.jspx and right click Run As -> Run on server.

After a successful run we can add an outputtext to the page and the fragment


Now drag the department Task Flow to the jspx start page and select Region. This will create the ADF binding pagedef file.


We can open the pagedef file and add your own bindings.


Or open the Data Palette window which shows you the available bindings


At last open the project options to enable the adf.oracle.domain.webapp shared libraries


Now you can run the start page with the Bounded Task Flow fragment.


As an extra you can also add some data to the page by fixing the Model project.
First add a database connection to the model project
Add JPA entitities from tables
Add a connection to the persistence.xml

Add Data Model Components to the Model project. This will create a managed bean for the JSF page and an EJB Session bean for the entities

EJB Session Bean


JSF bean


the managed bean code

The Data Pallette, drag and drop the FindAll method to the fragment page


And the result.

Monday, July 26, 2010

ADF Task Flow Region interaction with Parent Action activity

When you use Task Flows in your ADF 11g Web Application then you probably need to have some ADF Region interaction with other Regions or its containing JSF page. In this blogpost I will show you can control a dynamic Region from a other Region ( Task Flow ) with a Parent Action Activity. Off course you change the bean used for the dynamic region from backing bean scope to session bean scope and call this bean from every Task Flow. This works perfectly but you ADF has a better solution for this and you don't need to change the scope of the dynamic Task Flow bean.

For this blogpost I made an Example with one JSPX page and this page contains two Regions. The first is the Top TF and the second is a dynamic Region with Center 1 & 2 TF. Start is part of the JSPX page and can call the Center 1 & 2 methods directly in the dynamic region bean.
For showing the Center Task Flows from the Top Task Flow you can use the Parent Action activity. 

Here is the code of the main JSPX page with in the start facet ,the two buttons which can call the backingbean methods.
<?xml version='1.0' encoding='UTF-8'?>
<jsp:root xmlns:jsp="http://java.sun.com/JSP/Page" version="2.1"
          xmlns:f="http://java.sun.com/jsf/core"
          xmlns:af="http://xmlns.oracle.com/adf/faces/rich">
  <jsp:directive.page contentType="text/html;charset=UTF-8"/>
  <f:view>
    <af:document id="d1" title="Example">
      <af:form id="f1">
        <af:panelStretchLayout id="psl1" startWidth="239px" topHeight="95px">
          <f:facet name="center">
            <af:region value="#{bindings.dynamicRegion1.regionModel}" id="centerRegion"/>
          </f:facet>
          <f:facet name="start">
            <af:panelHeader text="Start" id="ph1" inlineStyle="width:239px; height:423px;">
              <f:facet name="toolbar">
                <af:toolbar id="t1">
                  <af:commandToolbarButton text="Center1"
                                           id="ctb1"
                                           action="#{backingBeanScope.MainRegionHandler.showCenter1TF}"/>
                  <af:commandToolbarButton text="Center2"
                                           id="ctb2"
                                           action="#{backingBeanScope.MainRegionHandler.showCenter2TF}"/>
                </af:toolbar>
              </f:facet>
            </af:panelHeader>
          </f:facet>
          <f:facet name="top">
            <af:region value="#{bindings.top1.regionModel}" id="centerTop"/>
          </f:facet>
        </af:panelStretchLayout>
      </af:form>
    </af:document>
  </f:view>
</jsp:root>
The dynamic region bean with the showCenter1TF and showCenter2TF methods.
package nl.whitehorses.adf.tf.view.beans;

import javax.faces.component.UIComponent;
import javax.faces.context.FacesContext;

import oracle.adf.controller.TaskFlowId;
import oracle.adf.view.rich.context.AdfFacesContext;

public class MainRegionHandler {

    private String taskFlowIdCenter1 = "/WEB-INF/center1.xml#center1";
    private String taskFlowIdCenter2 = "/WEB-INF/center2.xml#center2";
    private String taskFlowId = taskFlowIdCenter1;

    public MainRegionHandler() {
    }

    public TaskFlowId getDynamicTaskFlowId() {
        return TaskFlowId.parse(taskFlowId);
    }

    public String showCenter1TF() {
        taskFlowId = taskFlowIdCenter1;
        AdfFacesContext.getCurrentInstance().addPartialTarget(getUIComponent("centerRegion"));  
        return null;
    }

    public String showCenter2TF() {
        taskFlowId = taskFlowIdCenter2;
        AdfFacesContext.getCurrentInstance().addPartialTarget(getUIComponent("centerRegion"));  
        return null;
    }

    private UIComponent getUIComponent(String name) {
        FacesContext facesCtx = FacesContext.getCurrentInstance();
        return facesCtx.getViewRoot().findComponent(name);
    }

}
From the Start facet on the main page it is easy to show the right Center Task Flow. From the Top Task Flow you need to do more. First you need to change the parent Task Flow. ( this works in a bounded or unbounded Task Flow ). Add two Method Call activities and a Wildcard Control Flow Rule.
You will later call the goCenter1 and goCenter2 Control Flow cases  from the Top Task Flow. This will activate the method call which call the right method in the dynamic region bean. After a successful invocation, it will use the return Control Flow case to return to the page.
The property window of the showCenter1TF Method Call activity looks like this. Here you need to provide the Method value and provide the Fixed Outcome.
Next step is to change the Top Task Flow where you also need to add a Wildcard Control Flow Rule together with two Parent Action activities.
The Parent Action property window looks like this. Here you need to provide the Parent Outcome , this must match with the Control Flow Case of the parent Task Flow and here is the Outcome also return.


And at last the Top fragment with the two buttons which calls the right Control Flow Case.
<?xml version='1.0' encoding='UTF-8'?>
<jsp:root xmlns:jsp="http://java.sun.com/JSP/Page" version="2.1"
          xmlns:af="http://xmlns.oracle.com/adf/faces/rich"
          xmlns:f="http://java.sun.com/jsf/core">
  <af:panelHeader text="Top TF" id="ph1"
                  inlineStyle="width:995px; height:84px;">
              <f:facet name="toolbar">
                <af:toolbar id="t1">
                  <af:commandToolbarButton text="Center1"
                                           id="ctb1"
                                           action="showCenter1TF"/>
                  <af:commandToolbarButton text="Center2"
                                           id="ctb2"
                                           action="showCenter2TF"/>
                </af:toolbar>
              </f:facet>
  </af:panelHeader>
</jsp:root>
That's all and here is the example workspace.

Thursday, April 8, 2010

ADF Task Flow interaction with WebCenter Composer

When You use JDeveloper 11g and ADF you probably made some independent Task Flows. To use these Task Flows you must add them as regions in your JSPX page or in an UIShell template page. The second step is  to provide the right input parameters or use contextual Events so the Task Flows will display the right data. For events you need to publish events from the Task Flows and in the JSPX page you need to subscribe to these events and invoke a ADF Method Action in a other Task Flow.
With WebCenter Composer you can do this at runtime, and change this for example in production without to program any code. In this blog I will show you how you can achieve this.
I made two TF and the first will have an input parameter and this value will be displayed in a view. This TF will also publish a simple event with a string payload and a complex event with a Map payload. The Second TF has two ADF Method Actions which can be used for the simple and complex event.
In the customizable WebCenter page you can add these Task Flows from the catalog, provide the input parameter for the First TF and intercepts the events and invoke the Method Actions of the Second TF.
Here is a screenshot of the final Webcenter page.


First step, Making the ADF Task Flow Fragments with input parameter and contextual events
Create Fusion Web Application and add the first ADF Task Flow. This must be a bounded TF with Page Fragments.

Add an input parameter to this TF.

Add a view and create the page fragment. In the view you will display the input parameter.
For the contextual Events you can use this Java Class and you need to generate a Data Control on this java class so you can use this in ADF.
package nl.whitehorses.webcenter.taskflows.view;

import java.util.HashMap;
import java.util.Map;

public class Events {
    public Events() {
        super();
    }

    public String fireEvents(String parameter) {
        System.out.println("fire event with parameter: " + parameter);
        return parameter;
    }

    public Map<String, Object> fireComplexEvent() {
        System.out.println("fire complex event ");
        Map<String, Object> eventData = new HashMap<String, Object>();
        eventData.put("text1", "hello");
        eventData.put("text2", "hello2");
        return eventData;
    }


    public String captureEvents(String parameter) {
        System.out.println("capture event with parameter: " + parameter);
        return parameter;
    }

    public String captureComplexEvents(Object parameter) {
        System.out.println("capture complex event");
        Map<String, Object> eventData = (Map<String, Object>)parameter;
        return (String)eventData.get("text1") + " / " +
            (String)eventData.get("text2");
    }

}
Generate a Data Control.
Open the Data Controls window so you can drag the methods on the page.
First drag the parameter of the fireEvents method on the page as an inputtext component, after this drag the fireEvents method on the page (a Button ). Do the same with the fireComplexEvent method ( Only a button, no parameters. ) JDeveloper will also add the Method Actions of the Data Control to the page definition.

Select the first button and go to the property window, to add a new Event on this button.

Do the same for the other button. JDeveloper will add an event to the Method actions in the page definitions.


Create the second bounded Task Flow with page fragment, add a view and create the page fragment. In this fragment you need to drag the return values of the captureEvents and captureComplexEvents methods. No need to provide the input parameters. The event handler will do this for you.


This is the layout of the Second TF.

Last step in this project to make an ADF Library Deployment.

And deploy the ADF library to a jar.

Second Step, The WebCenter Project
For this step you need to have the WebCenter plugin ( Add this from the JDeveloper Update ).
Create a WebCenter project


Create an JSPX page where you will add the customizable page, panel and link component.

The customizable webcenter components are located in the Oracle Composer section.


The page looks like this.

The last step before you can run this WebCenter application is to add the Task Flows to the Composer Catalog so you can use this at Runtime.

Add an File Location in your Resource Pallette to your ADF library folder.
Select the first TF and use the right button to generate a catalog reference.
Open the default-catalog.xml in the mds folder located at the application home folder.

Add the catalog reference to this file and do the same for the second TF.

Add the ADF library to the WebCenter project.

Third Step, configure the WebCenter page.
Run the WebCenter application and press the edit button. This will open the design view.
Select the Task Flows from the catalog and add them to the page.
It will look like this and press the small edit button of the first TF.
Add an value to the input parameter
Close the dialog and press the edit button of the Second TF. Here you select the events of the First TF and select the Method actions of the Second TF. Go to the Events Tab and select the simpleEvent and the captureEvents Action. Enable this and use ${payLoad} as parameter value.
Do the same for the complex event and leave the Edit mode. You will see this as result.

That's all.

Here you can download the two applications.